Showing posts with label crafts. Show all posts

Wednesday, September 28, 2011

Helpful Beading Tools

I was helping my friend Cristi get ready for our craft day at church. She brought up this tip, so I had to share.


Since she hasn't made the investment yet on this bead tray{which in my book is a must have}.


She mentioned that felt fabric would help the beads not roll around everywhere.


The thought then came to my mind that you could use a piece of molding as the bead tray. The groove is where you would place the beads before stringing them.

Thanks Cristi for the tip!

Friday, September 23, 2011

Kids Craft Closet

I am one of the art moms in my daughters 4th grade class. As I was looking in the supply closet it felt so peaceful I think because it was organized! I knew I had to do something with the kids' craft closet at home. I was inspired!


This is the Kids' Craft Closet(just an entertainment center).


What a Mess!


In the process. . . did that all really fit??


I labeled everything. The containers on the right were from the dollar store(DollarTree).


All Done!

Saturday, September 17, 2011

My New Old Rags

My grandpa taught me a great trick to get the most wear out of a piece of clothing. When that clothing item is either too small, ripped or stained use it as a Paint Rag.


Before I gave some of the girls' clothes to the second hand store, I went through them to see if there was any I could keep. I found a great pile.

This sure beats spending more money on new ones{plus they have style}!

Friday, August 19, 2011

Crafts with Oregon Treasures


I love how the Ocean tumbled these rocks flat & smooth. They are all so unique.


I made these necklaces. . . [glue the back clasp & shells with E6000 then spray with SATIN clear coat]


I made this magnet [mini frame from the second hand store]for the rental house.

Monday, June 20, 2011

{Summer Time} Idea Container


Now that our kids are out of school we can have some Summer Time Fun.
Even though we will have the lazy days of summer, we still need some consistency. I'm going to refer back to the the schedule I made last year but add the twist of more outdoor games. I want us to enjoy the beauty of the sun & nature.


We bought this container(at a local restaurant supply store) for our concession business but haven't had a need for it lately so I'm putting it to good use. The lid is labeled with the days of the week(with stickers).


I thought it would be fun to have ideas for each day (except Sunday) where we could play different types of games. The idea categories. . .
Monday- Games with Round objects (balls/balloons & beanbags)
Tuesday- Games with water
Wednesday- Games with recycled items
Thursday- Games in nature (park/birdfeeders,etc...)
Friday- Games with a race
Saturday- Games on the sidewalk(chalk) & flashlight games

I will try to post any of these game ideas I do but most of them come from Family Fun Magazine.

Wednesday, June 15, 2011

{Teacher Tools} Gift

Our kids get out of school this week-Ya!
At the end of the school year I like to do an extra nice gift for the teachers to show my appreciation for teaching our children. This year I used stuff I already had at home.

Binder Clips:

I just covered these with fabric using Mod Podge.

Dice(4"x4"):

Painted.

Making the dots.

Burned.

Tool used to burn the dots(found at Michael's Craft store).

Start/Stop Sign:

The sign comes out of the hole so the sign or stand can be used separately.

Tuesday, June 7, 2011

Baby Binky/Toy Clips

BABIES-BABIES-BABIES

I need to do gifts for 6 babies. I saw a cute Binky Clip at church one Sunday and decided to make my own version of it. I also thought it would be great if it could be a little versitile. If the binky is not in use, then a toy could be added.


Start with your choice of beads(pony beads & regular ones at Walmart on clearance), a ribbon(1/2" x 1 yard), clip.


Fold the ribbon in half & tie a knot 3 1/2" down. Attach a needle to the end & thread on the beads.


Attach the ribbong thru a clip and tie off the ends.


Add a personalized touch(I made a letter button out of sculpty clay).

Putting the binky/toy thru the ribbon.


CAUTION: I don't know how child safe these are so please make & use with caution.

Friday, May 27, 2011

Pink {Pink} Pink

My niece will be getting married next weekend so I've got Pink on the brain. Her colors are black, hot pink & ivory. Even though I'm busy I'm trying to help as much as I can. I'm doing the road signs, hair cuties for the flower girls & the big the cake(I'll post the cake next week).

Road Signs: MDF wood with paintable wallpaper (both sides)


Hair Cuties{#1}: made from Chiffon & Netting Fabric.
Cut circles from the fabric & netting. Burn the edges with a lighter-be careful not to get too close. They will curl up like a rose petal. For the center, I used a sytrofoam ball cut in half and glued a string of pearls onto it.


Wednesday, May 25, 2011

Summer Necklace


I was in Walmart the other day and saw a cute Necklace. I couldn't pay $8.00 knowing I had all the stuff at home to make it. The technique seemed so simple & I knew it would look cute wearing it in the upcoming summer weather.


Necklace clasps


Fold string(4 yards-I used thin hemp like) in half, thread one through the necklace clasp and with both strings tie a knot.


Take one string and thread on a bead or shell then take both strings and tie a knot. Continue until you reach the end of the string. Tie onto the other side of the necklace clasp. TIP: I put a little glue on one of the string ends so it wouldn't fray and thread easier.


All Done! I made it long so I could wear it by itself or layer it.


You could wear it single or doubled up. . .


Or even layer it.

Saturday, November 13, 2010

{Kitchen Cleanup} Job Chart


I've had "ah ha" moments (thanks Cami!) the last couple of weeks about Cleaning up the Kitchen(or maybe I've just reached my "limit" of having to do it all). The kitchen stays pretty clean during the day but as soon as the kids come home from school until bedtime it looks like a tornado hit. I'm usually too tired by the end of the day so most of the time it stays messy until morning. Not a good way to start each day.

So I'm hoping this "Cleanup Chart" will be the solution.


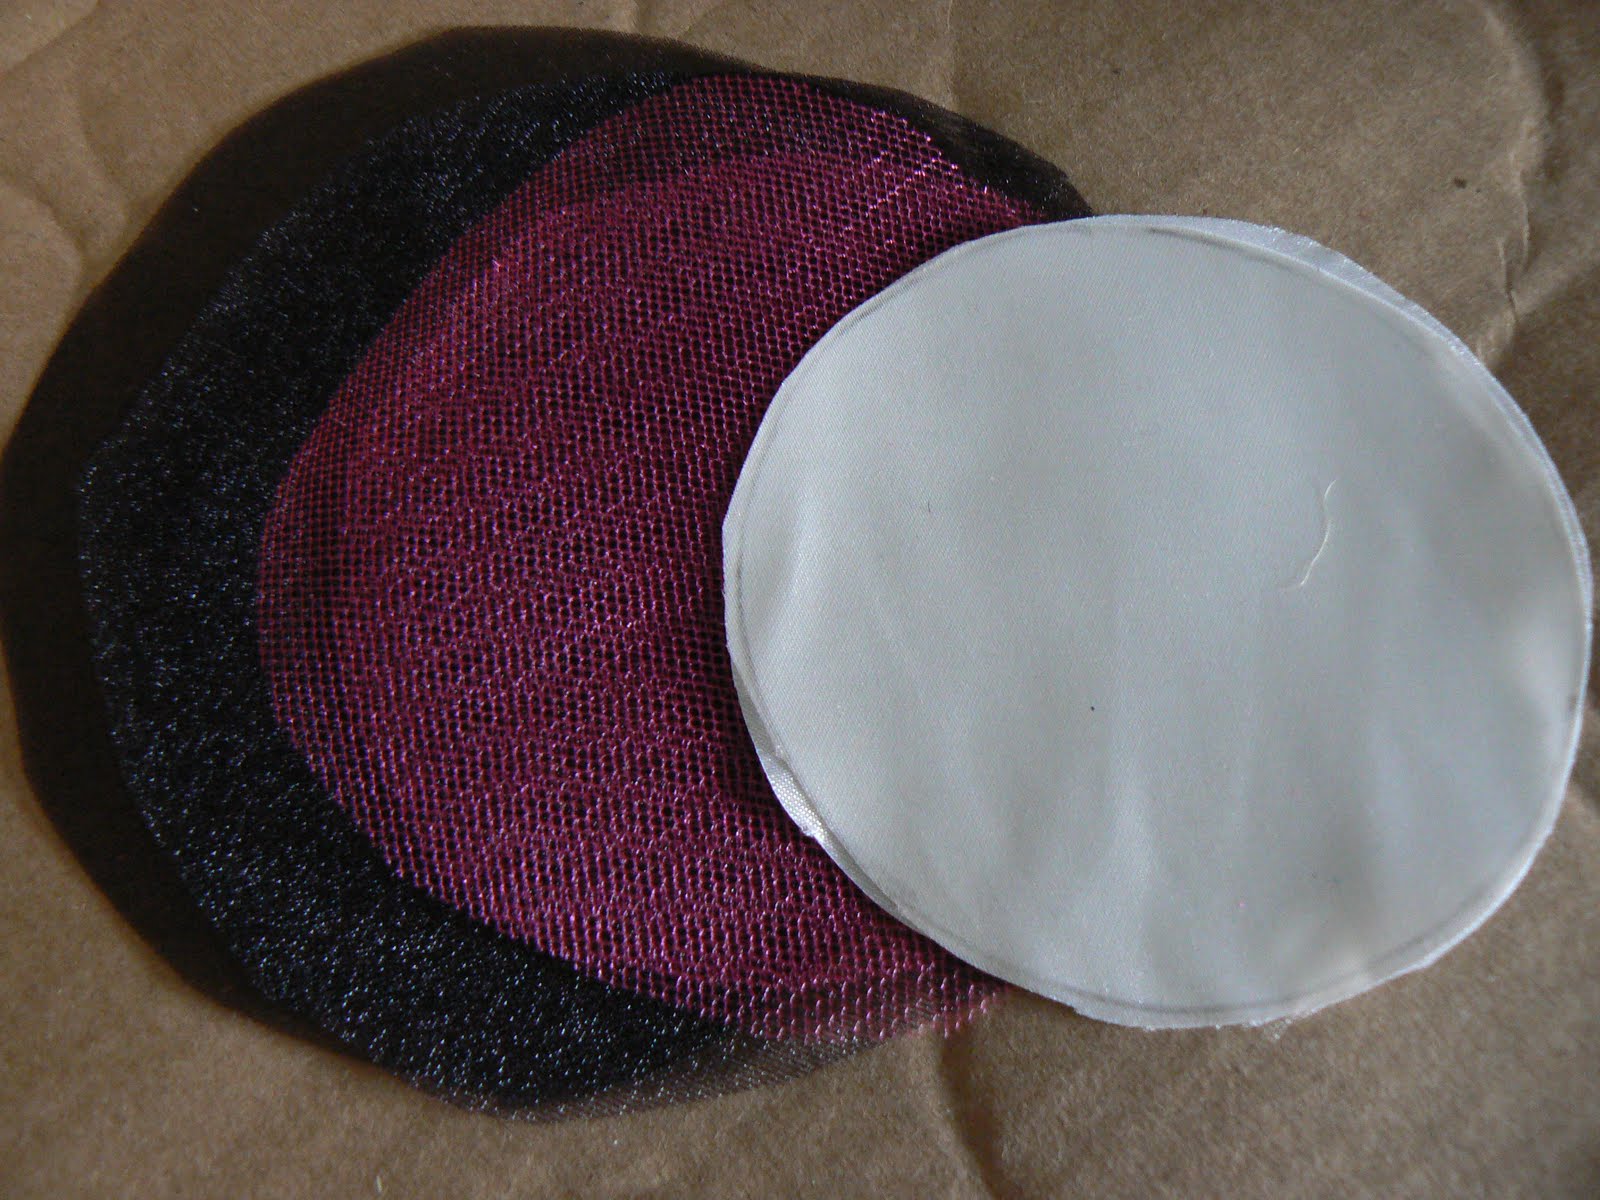
1-Cut & paint a board to your desire(mine is 9"x12") The magnetic metal piece was 6"x10.5"(found at Craft Warehouse).


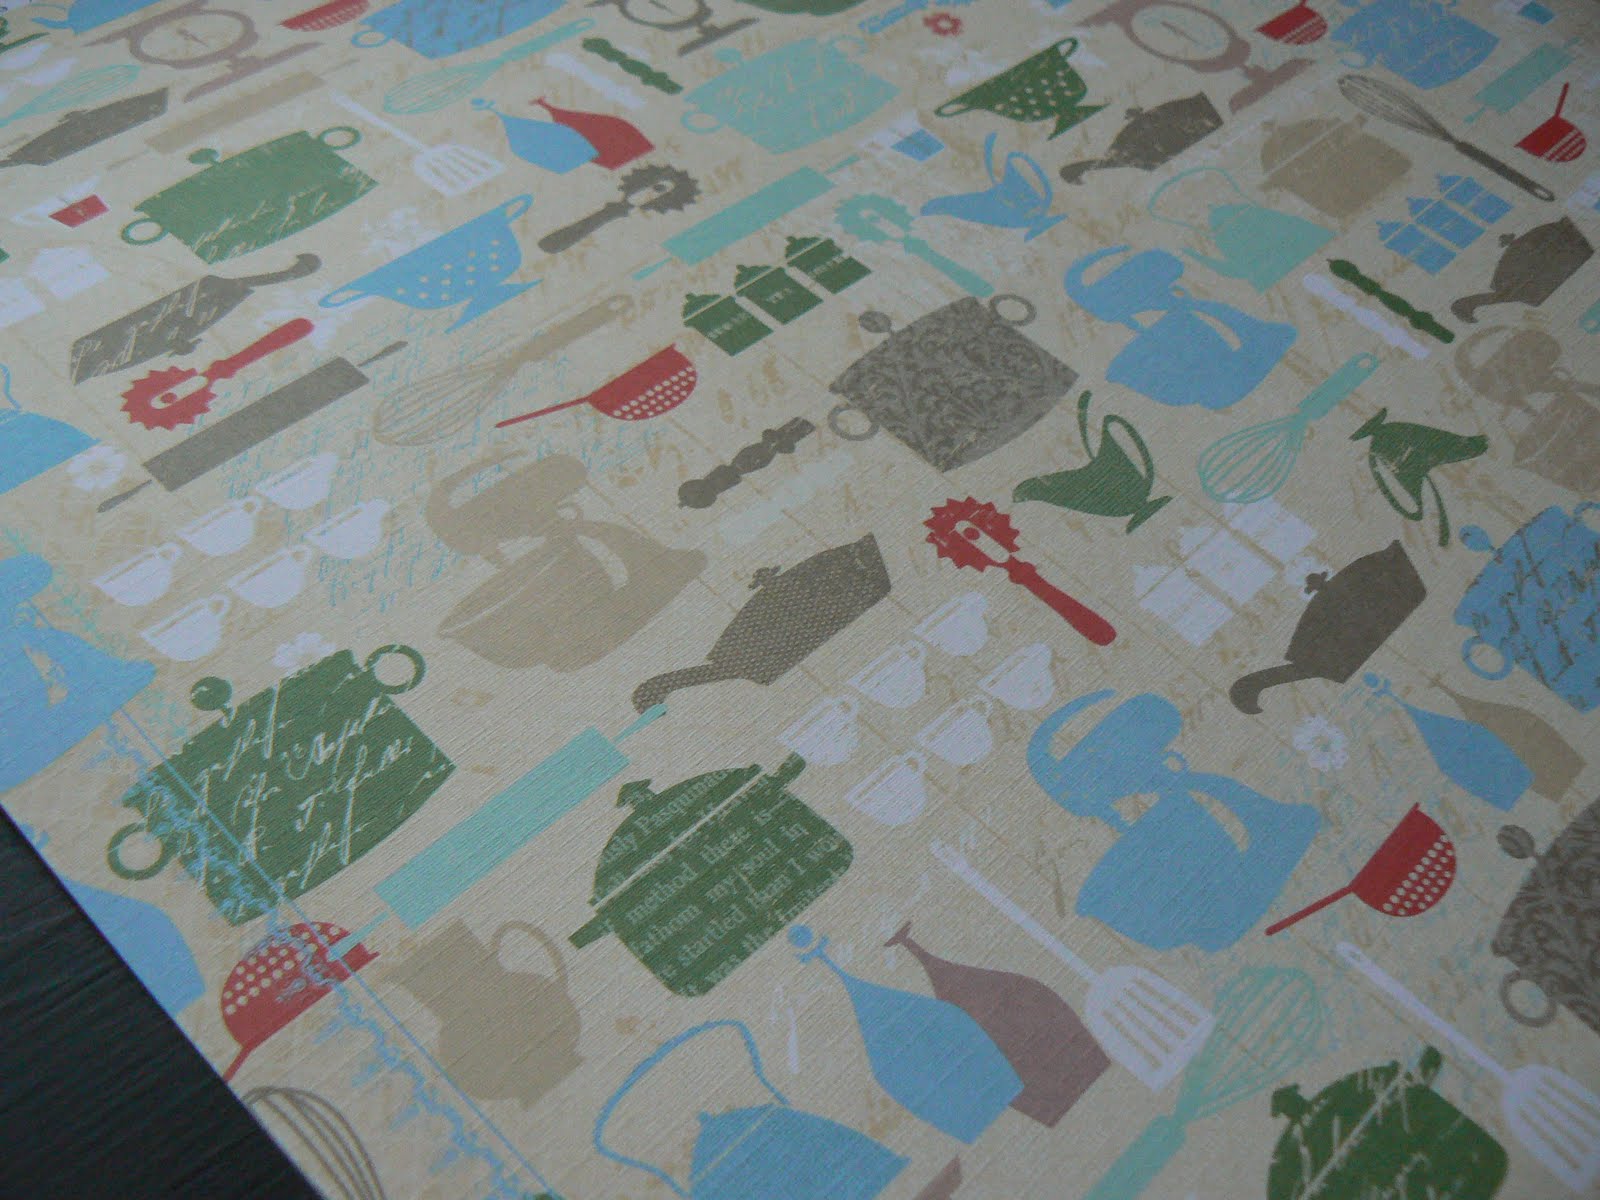
2-I found this adorable paper(at Paper Cottage by Little Yellow Bicycle/Savor-"kitchenware") to use.


3-Glue the paper onto the magnetic metal with spray adhesive & then glue it to the board.


4-Roll the clay(Sculpty) out. Use the cardstock shape (1 1/2"x2") as your guide, cut the clay with the exacto knife. Stamp the letter onto the clay shape. "Age" the edges with the stamp pad. Bake as directed. Brush on a protective coat(I use clear fingernail polish because that is what I have-it works). Then glue the letter shape onto the magnetic board.

FYI-I decided to use the alphabet letters instead of pictures because I don't have time to change them often.


5-Cut the magnet sheet for the "job descriptions". I taped some scrapbook paper to the magnet. And wrote on it with a sharpie. I love how this can easily be changed.

The kids thought it would be nice to change it every week-I agree.


KENJI Sponsored by KENJI